Mapping Landuse/Landcover Data to Manning’s n
This feature allows you to import land use / land cover (LU-LC) data — either in vector or raster format — and map each LU-LC class to a corresponding Manning’s roughness coefficient (n). The resulting data can then be exported as a new file (Shapefile or GeoTIFF) and optionally converted into a raster for use in hydraulic simulations.
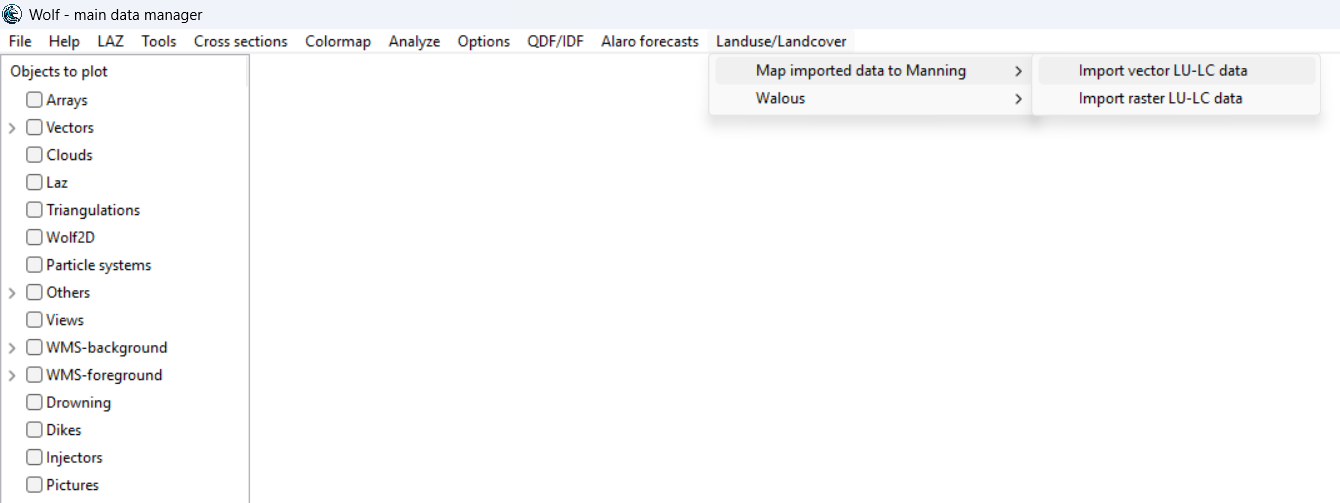
To access this feature, use the menu path: Landuse / Landcover ➜ Import from File
Two options are available:
Import vector LU-LC data (Shapefile)
Import raster LU-LC data (GeoTIFF)
Requirements:
A valid LU-LC dataset in either Shapefile (.shp) or GeoTIFF (.tif) format.
For raster cropping or resampling, an active array is required.
The dataset must contain identifiable LU-LC classes (categorical attribute or pixel values).
Importing and Mapping Vector LU-LC Data
Purpose: Import polygon-based land cover data (e.g., shapefile), assign Manning’s n values based on class attributes, and optionally export the result or rasterize it.
Detailed steps:
Open the Import Dialog
From the main menu, select: Landuse / Landcover ➜ Import from File ➜ Import vector LU-LC data
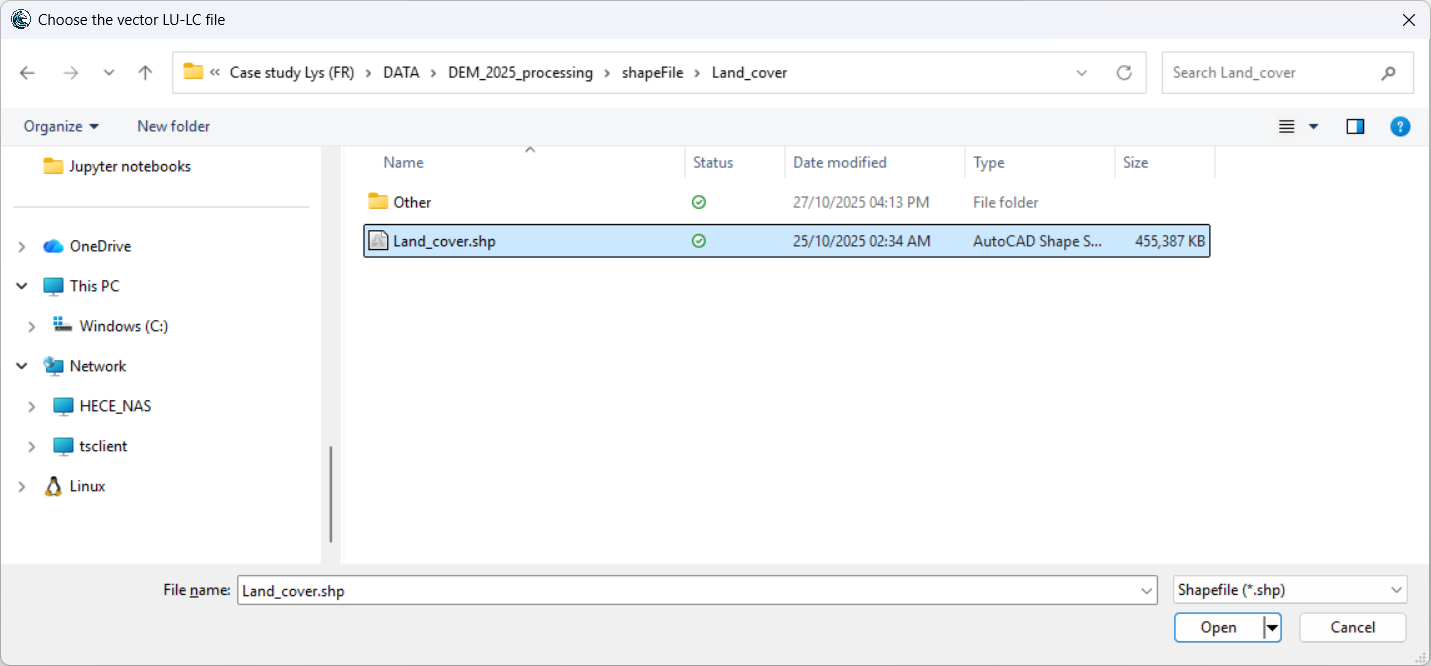
Select the LU-LC Vector File
In the file dialog, choose a valid .shp file containing the LU-LC polygons.
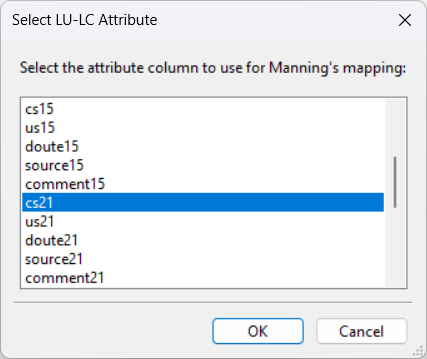
Choose the Attribute Column
After loading, the tool lists all available attributes from the shapefile. Select the attribute column that defines the LU-LC classification (e.g., CLASS, LU_CODE, LANDUSE - in this case cs21).
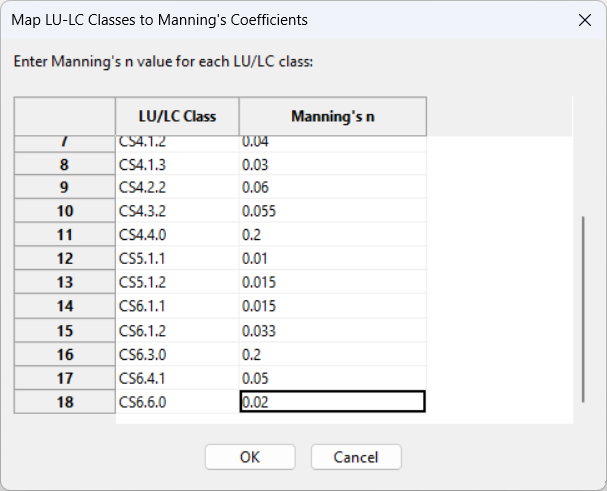
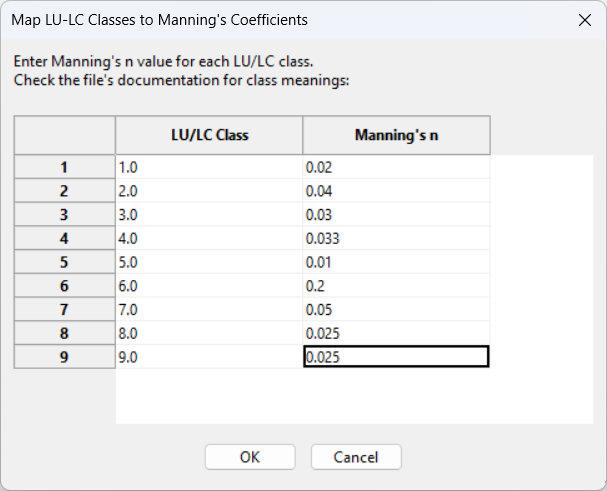
Enter Manning’s n Values
A dialog appears showing a table of unique LU-LC classes found in the selected column. Enter a Manning’s n value for each class. All values must be positive and numeric.
Validate and Apply Mapping
If any Manning’s n values are missing or invalid, an error message will prompt correction.
Once confirmed, a new column named `MANNING_N` is added to the attribute table.
A summary message shows how many features were successfully assigned Manning’s n.

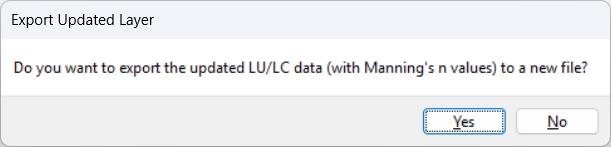
Export Updated Data (Optional)
You will be prompted to export the updated shapefile (with Manning’s n column) to a new location.
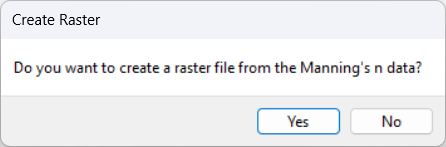
Create Raster from Manning’s n (Optional)
After export, you can optionally rasterize the Manning’s n data. Choose between: - Use vector bounds (define raster extent using vector geometry and specify resolution manually), or - Crop to active array (use bounds and resolution from the active array).
If yes, select the desired option:
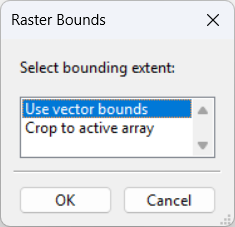
If Crop to active array is selected, the raster will match the active array’s extent and resolution.
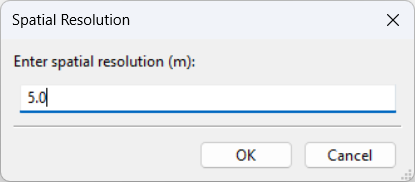
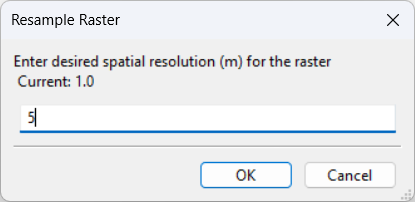
If Use vector bounds is selected, specify the desired spatial resolution (e.g., 10 m), as shown below:
A GeoTIFF file (.tif) will be generated…

…and can optionally be loaded into the project:
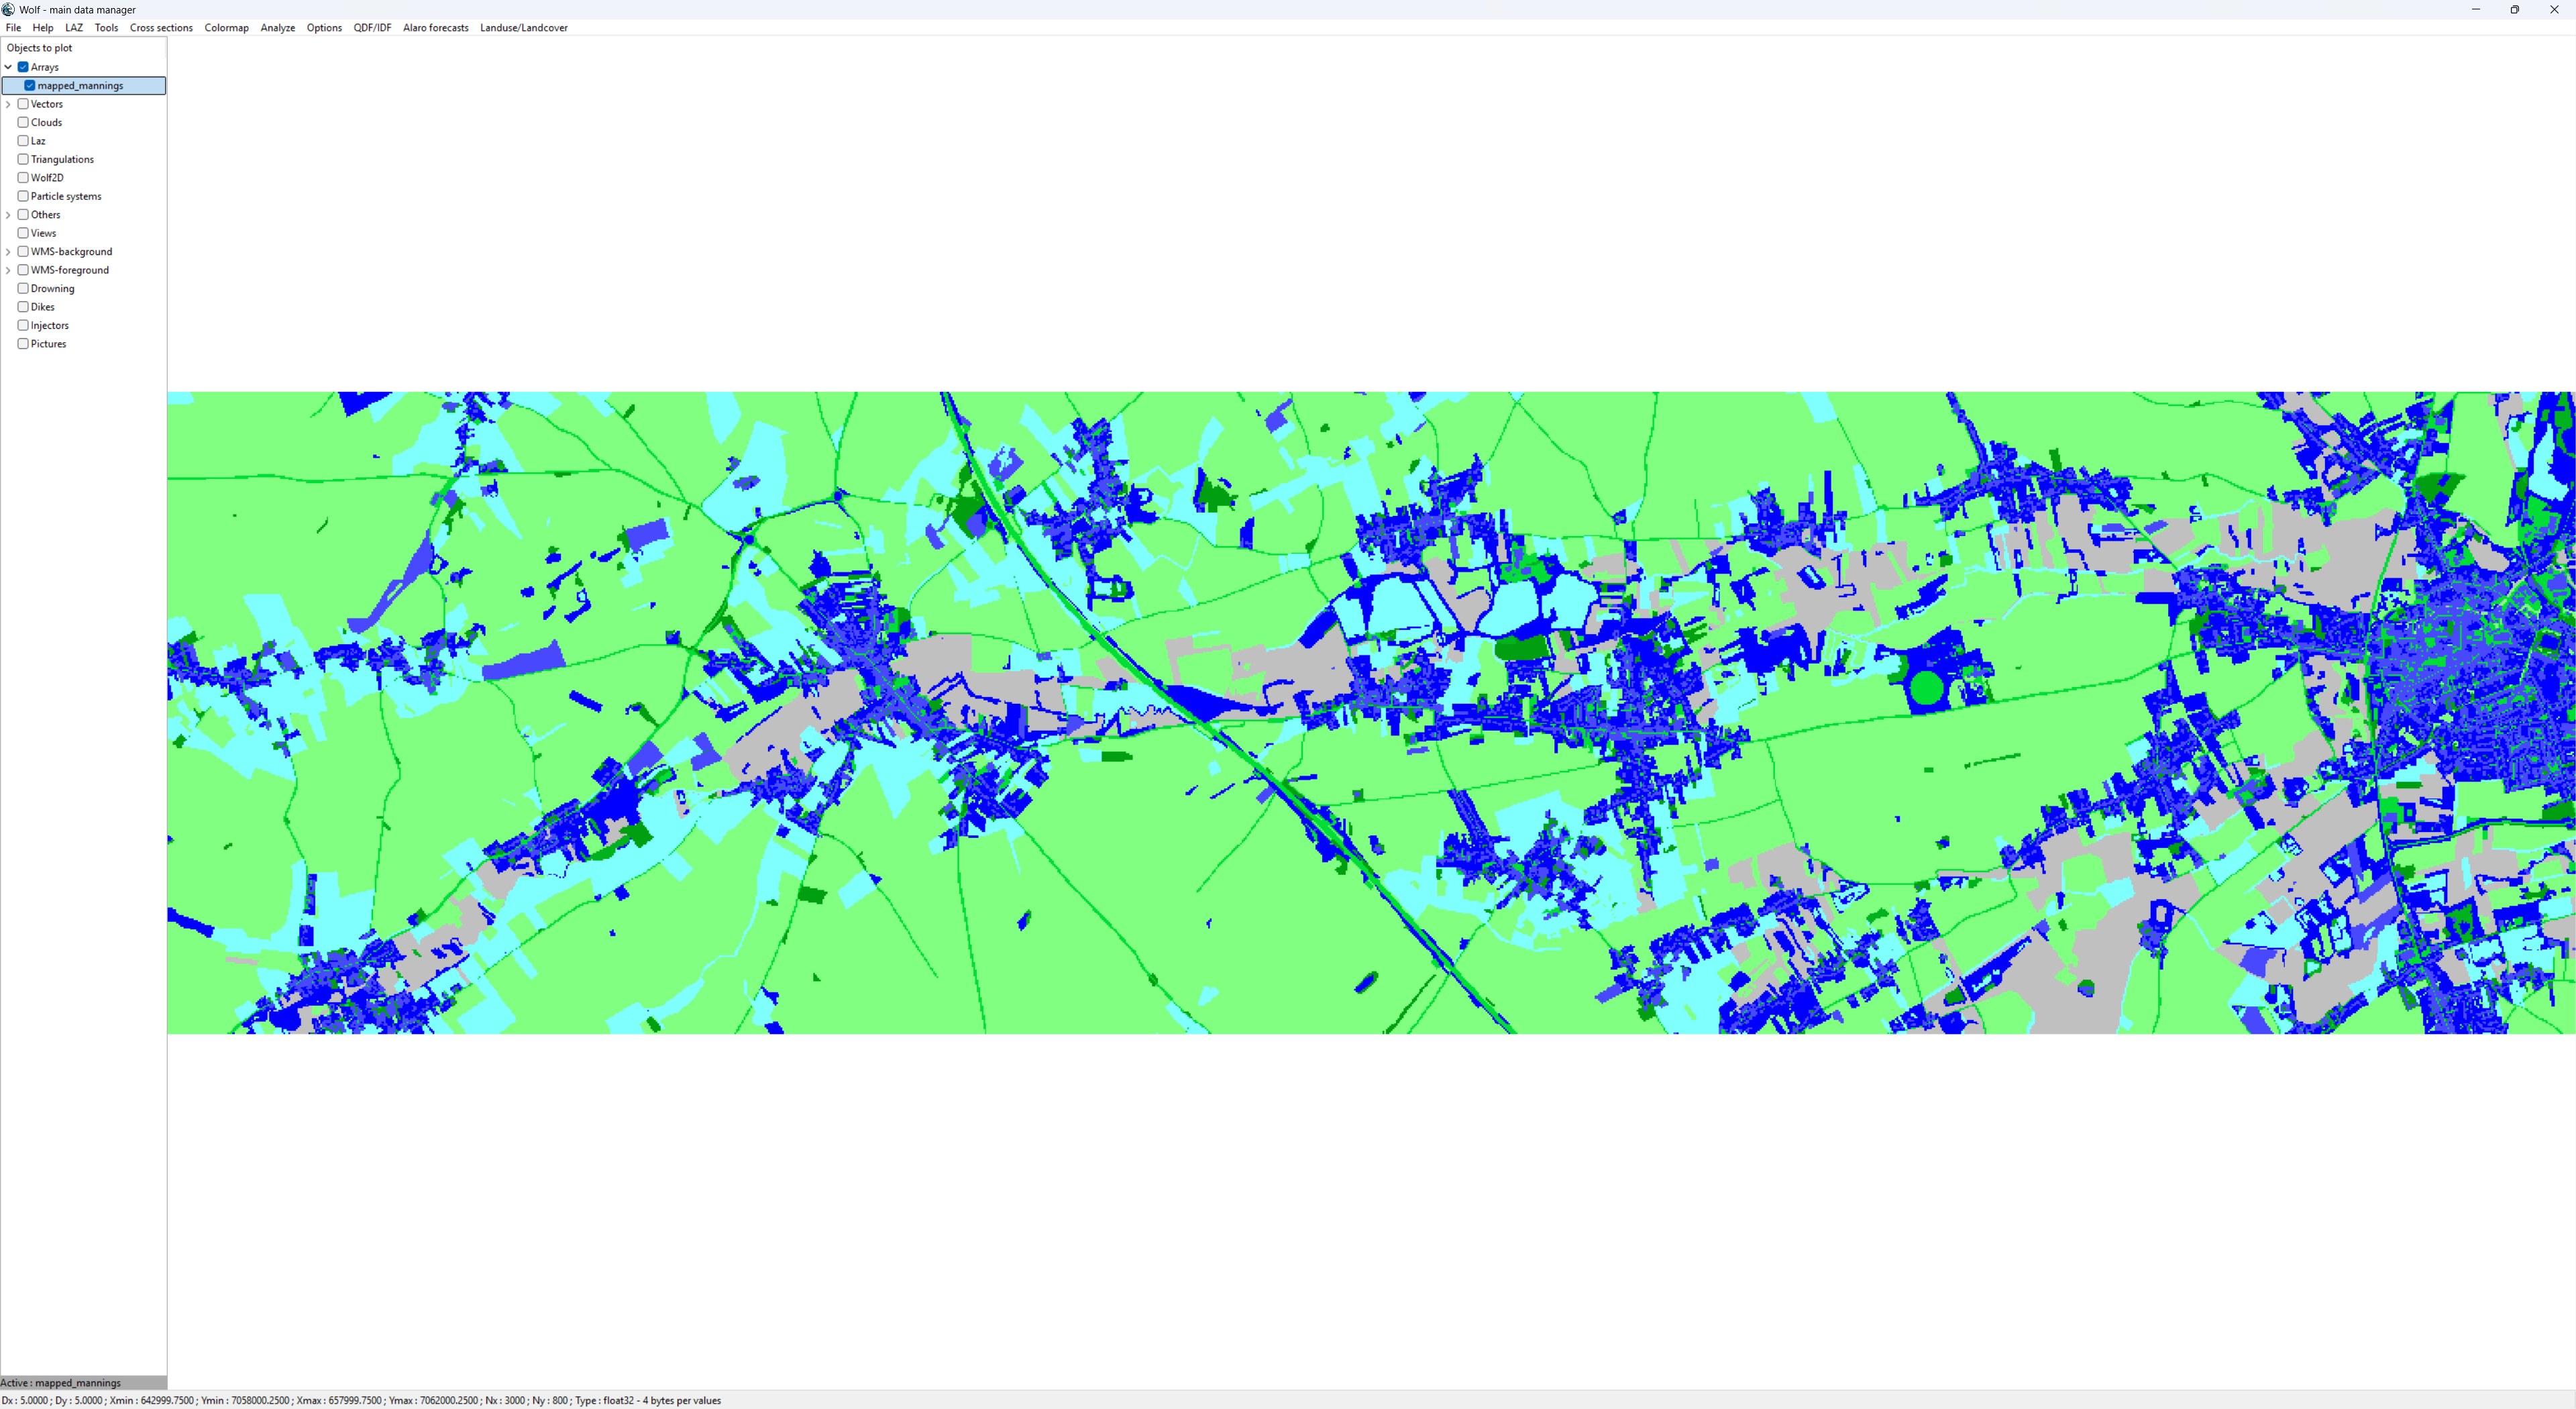
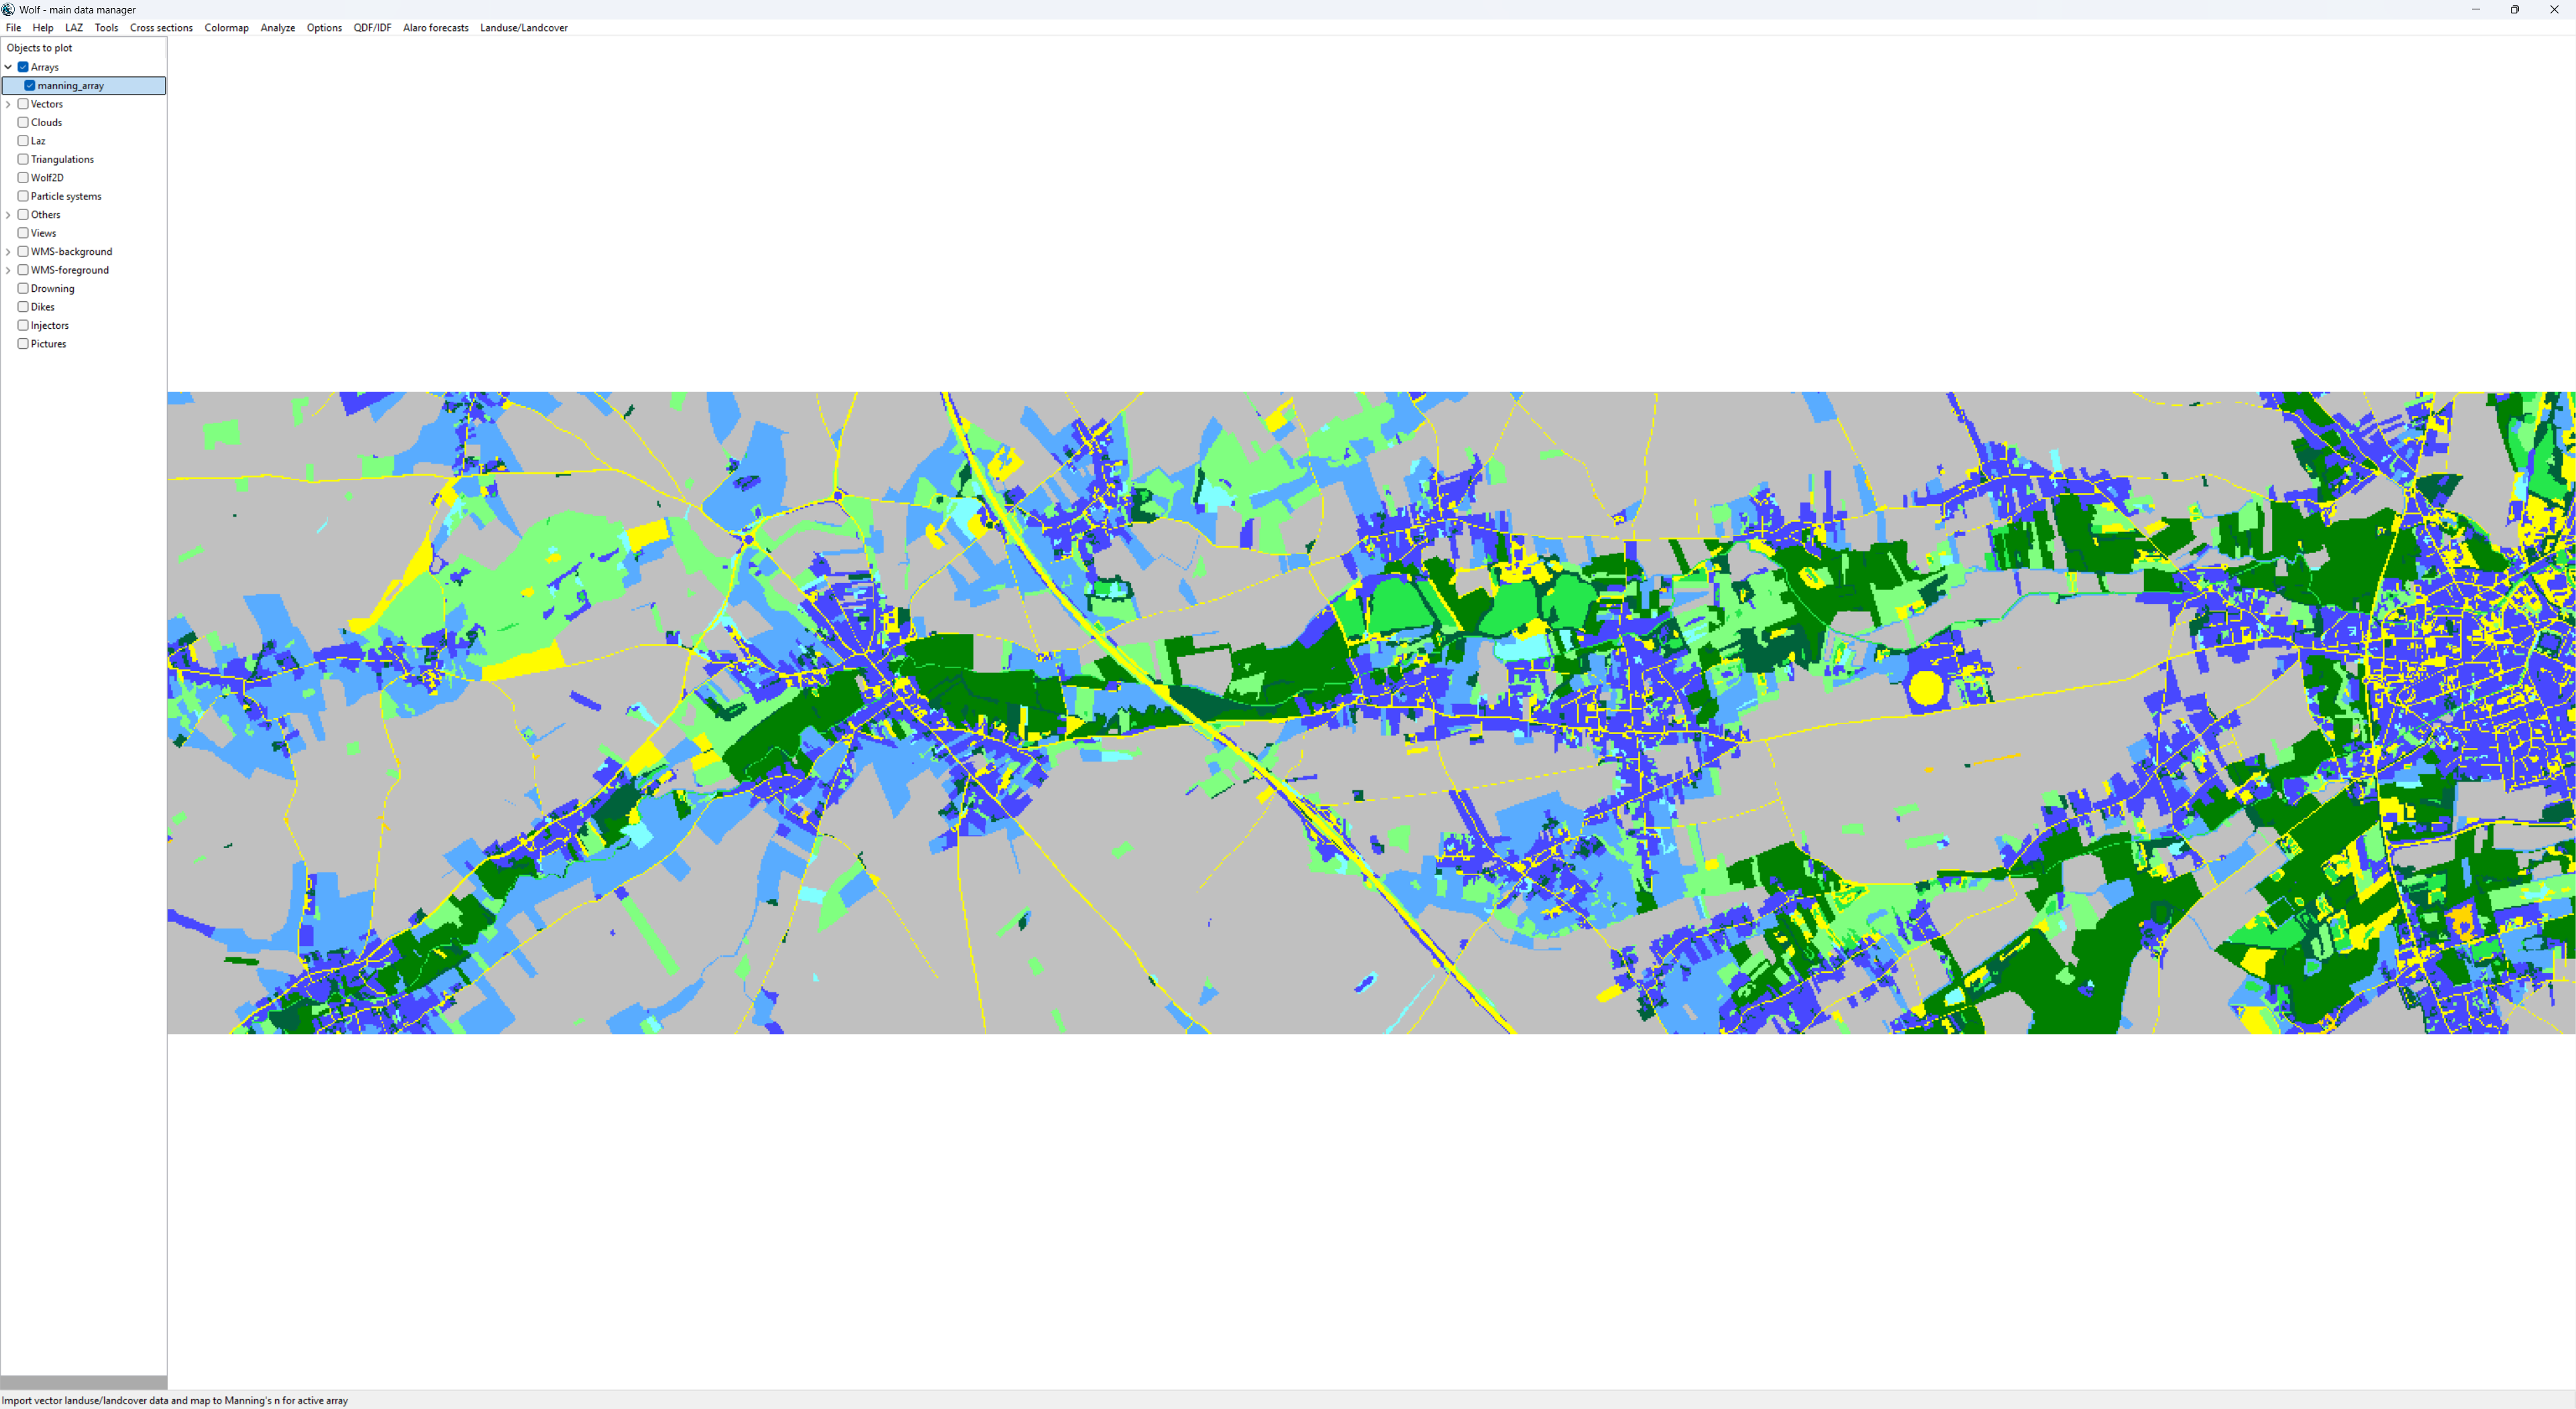
If the user chooses to load the final raster with Manning’s n values, it will appear in the viewer:
Importing and Mapping Raster LU-LC Data
Purpose: Import a raster LU-LC dataset (GeoTIFF), assign Manning’s n values to each LU-LC class, and optionally crop or resample it.
Detailed steps:
Open the Import Dialog
From the main menu, select: Landuse / Landcover ➜ Import from File ➜ Import raster LU-LC data
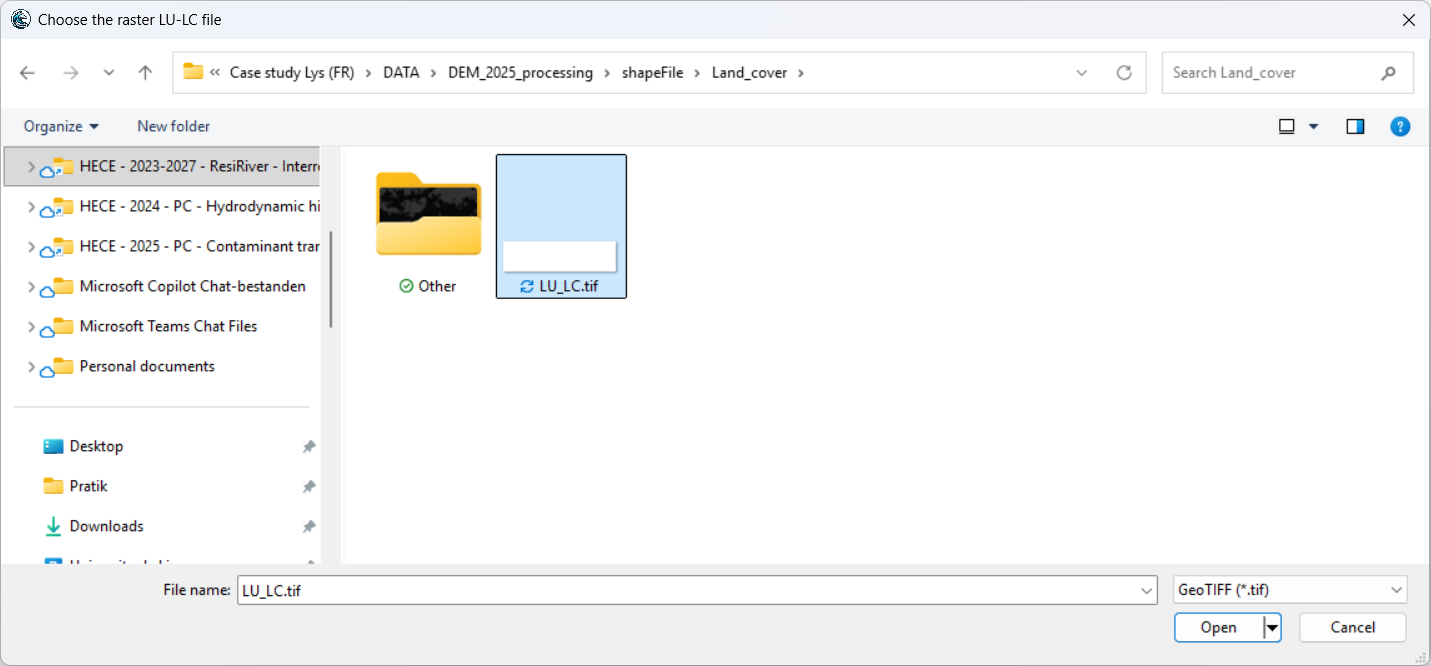
Select the LU-LC Raster File
In the file dialog, choose a valid .tif file representing land cover classes.
Assign Manning’s n Values
A table will list the unique LU-LC class values found in the raster. Enter a Manning’s n value for each class.
Crop and Resample (Optional)
You will be prompted to: - Crop the raster to match the active array’s extent (if an active array exists). - Resample the raster to a specified spatial resolution (e.g., 10 m).
Save the new raster
In the save dialog, choose a location and filename for the new raster file (GeoTIFF format).
Load and Visualize
You will also be prompted with a choice to load the resulting raster (now containing Manning’s n values) into the project for further use.
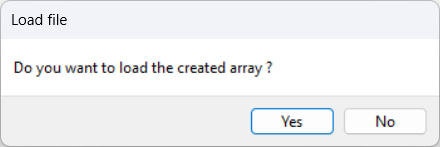
If loaded, the raster will appear in the viewer: